Using the API with curl
This walkthrough assumes that you already have a registered account in the cluster. If not, see Introduction.
This guide shows you how to create a basic LXC container on the MIE Opensource Proxmox Cluster using the REST API with curl commands.
The API endpoint is: https://manager.os.mieweb.org
Prerequisites
- Active user account with appropriate permissions
- Access to a terminal with
curlinstalled - Knowledge of your site ID (available from the web interface)
- Cookie storage file for maintaining session authentication
1. Authenticate and Establish Session
First, log in to establish a session. The API uses cookie-based authentication:
curl -X POST 'https://create-a-container.opensource.mieweb.org/login' \
-H 'Content-Type: application/x-www-form-urlencoded' \
-c cookies.txt \
--data-urlencode 'username=your_username' \
--data-urlencode 'password=your_password'
Parameters:
username- Your cluster account usernamepassword- Your cluster account password-c cookies.txt- Saves session cookies to a file for subsequent requests
Response:
- On success: Redirects to home page (302) with session cookie set
- On failure: Returns login page with error message
The cookies.txt file contains your authentication session. Keep it secure and delete it when done. The session expires after 24 hours of inactivity.
2. List Available Templates
Before creating a container, you need to know what templates are available. Access the container creation form to see available templates:
curl -X GET 'https://create-a-container.opensource.mieweb.org/sites/1/containers/new' \
-b cookies.txt \
-L
Parameters:
- Replace
1with your actual site ID -b cookies.txt- Sends authentication cookies with the request-L- Follows redirects
This returns an HTML page listing available templates with their node and VMID. Look for template entries in the format nodeName,templateVmid.
3. Get External Domain IDs
To configure HTTP services, you need the external domain ID:
curl -X GET 'https://create-a-container.opensource.mieweb.org/sites/1/containers/new' \
-b cookies.txt \
-L | grep -o 'externalDomainId" value="[0-9]*"'
This extracts available external domain IDs from the form. Note the domain ID you want to use for your HTTP service.
4. Create a Container
Create a new container by POSTing to the containers endpoint:
curl -X POST 'https://create-a-container.opensource.mieweb.org/sites/1/containers' \
-b cookies.txt \
-H 'Content-Type: application/x-www-form-urlencoded' \
--data-urlencode 'hostname=my-app' \
--data-urlencode 'template=pve1,100' \
--data-urlencode 'services[0][type]=tcp' \
--data-urlencode 'services[0][internalPort]=22' \
--data-urlencode 'services[1][type]=http' \
--data-urlencode 'services[1][internalPort]=3000' \
--data-urlencode 'services[1][externalHostname]=my-app' \
--data-urlencode 'services[1][externalDomainId]=1'
Required Parameters:
hostname- Container hostname (letters, numbers, hyphens only)template- Template to clone, format:nodeName,templateVmid
Service Configuration:
Services are configured using a zero-indexed array. Each service needs an index starting from 0:
SSH Service (TCP) - Index 0:
--data-urlencode 'services[0][type]=tcp' \
--data-urlencode 'services[0][internalPort]=22'
type- Must betcpfor SSHinternalPort- Internal SSH port (typically 22)- External port is automatically assigned
HTTP Service - Index 1:
--data-urlencode 'services[1][type]=http' \
--data-urlencode 'services[1][internalPort]=3000' \
--data-urlencode 'services[1][externalHostname]=my-app' \
--data-urlencode 'services[1][externalDomainId]=1'
type- Must behttpinternalPort- Port your app listens on (80, 3000, 8080, etc.)externalHostname- Subdomain for your serviceexternalDomainId- ID of the external domain to use
Additional TCP/UDP Services - Index 2, 3, etc.:
--data-urlencode 'services[2][type]=tcp' \
--data-urlencode 'services[2][internalPort]=5432'
type- EithertcporudpinternalPort- Internal port number- External port is automatically assigned in range 2000-65565
DNS (SRV) Services:
--data-urlencode 'services[3][type]=srv' \
--data-urlencode 'services[3][internalPort]=389' \
--data-urlencode 'services[3][dnsName]=_ldap._tcp'
type- Must besrvinternalPort- Service portdnsName- SRV record name (e.g.,_ldap._tcp)
5. Complete Example
Here's a complete example creating a container with SSH, HTTP, and a custom TCP service:
# Step 1: Authenticate
curl -X POST 'https://create-a-container.opensource.mieweb.org/login' \
-H 'Content-Type: application/x-www-form-urlencoded' \
-c cookies.txt \
--data-urlencode 'username=myuser' \
--data-urlencode 'password=mypass'
# Step 2: Create container with multiple services
curl -X POST 'https://create-a-container.opensource.mieweb.org/sites/1/containers' \
-b cookies.txt \
-L \
-H 'Content-Type: application/x-www-form-urlencoded' \
--data-urlencode 'hostname=my-web-app' \
--data-urlencode 'template=pve1,100' \
--data-urlencode 'services[0][type]=tcp' \
--data-urlencode 'services[0][internalPort]=22' \
--data-urlencode 'services[1][type]=http' \
--data-urlencode 'services[1][internalPort]=8080' \
--data-urlencode 'services[1][externalHostname]=my-web-app' \
--data-urlencode 'services[1][externalDomainId]=1' \
--data-urlencode 'services[2][type]=tcp' \
--data-urlencode 'services[2][internalPort]=5432'
# Step 3: Clean up
rm cookies.txt
Response:
- On success: Redirects to the containers list page (302)
- On failure: Returns error message with details
6. Understanding Container Creation
The API performs these steps automatically:
- Clone Template - Clones the specified LXC template
- Configure Resources - Sets CPU (4 cores), memory (4GB), networking
- Start Container - Boots the container and waits for it to start
- DNS Registration - Waits for DHCP lease and DNS propagation
- Service Registration - Creates service records and configures reverse proxy
- Network Configuration - Sets up port forwarding and firewall rules
This process typically takes 2-5 minutes. The container will be accessible once DNS propagates and services are configured.
7. Listing Your Containers
To view your containers, access the containers list page:
curl -X GET 'https://create-a-container.opensource.mieweb.org/sites/1/containers' \
-b cookies.txt \
-L
This returns an HTML page listing all your containers with their details, including hostnames, IP addresses, and port assignments.
8. Accessing Your Container
Once created, you can access your container via SSH:
ssh -p <assigned-ssh-port> <username>@<hostname>.<internal-domain>
The SSH port is automatically assigned and displayed in the containers list. HTTP services are accessible via:
https://<externalHostname>.<externalDomain>
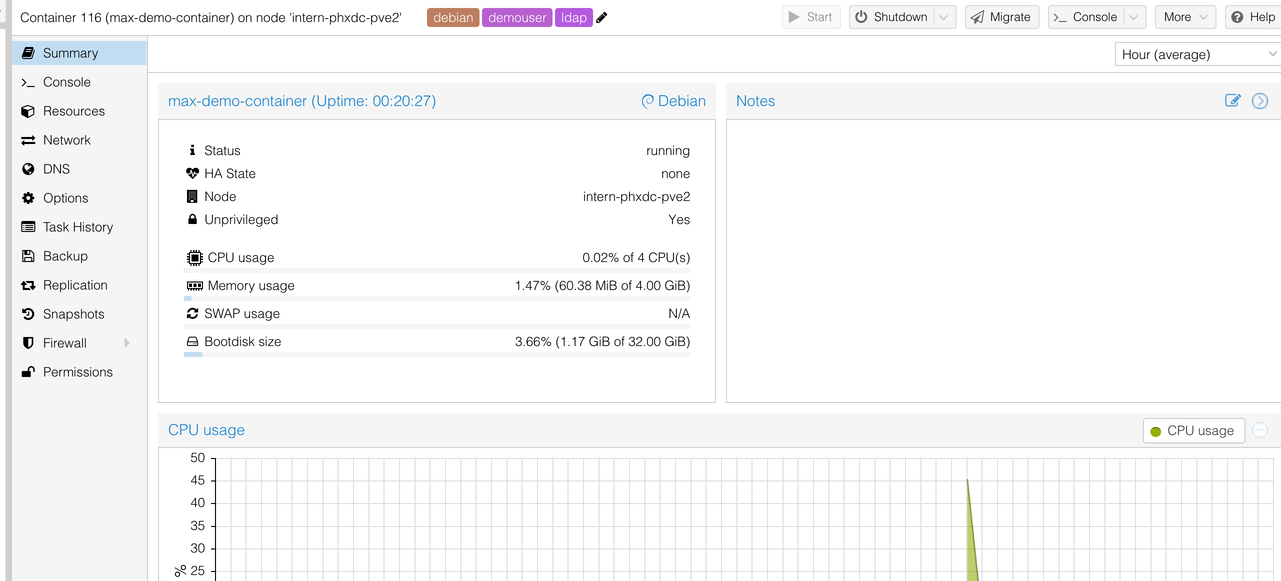
9. Viewing on Proxmox
To see your container in the Proxmox GUI, navigate to https://os.mieweb.org:8006. Your container will be listed with your username in the tags field.

You can start, stop, and reboot your container through the Proxmox interface. To delete a container, contact a cluster administrator.
Troubleshooting
Authentication Failed:
- Verify your username and password are correct
- Check that your account status is active
- Ensure cookies.txt is being saved correctly
Template Not Found:
- Verify the template exists on the specified node
- Check that your site ID is correct
- Ensure the node has templates configured
Hostname Already Exists:
- Choose a different hostname
- Check the containers list for existing containers
Service Configuration Errors:
- HTTP services require both externalHostname and externalDomainId
- DNS services require a dnsName
- Port numbers must be valid integers
Need Help?: For questions about API usage or automation, contact the MIE team.